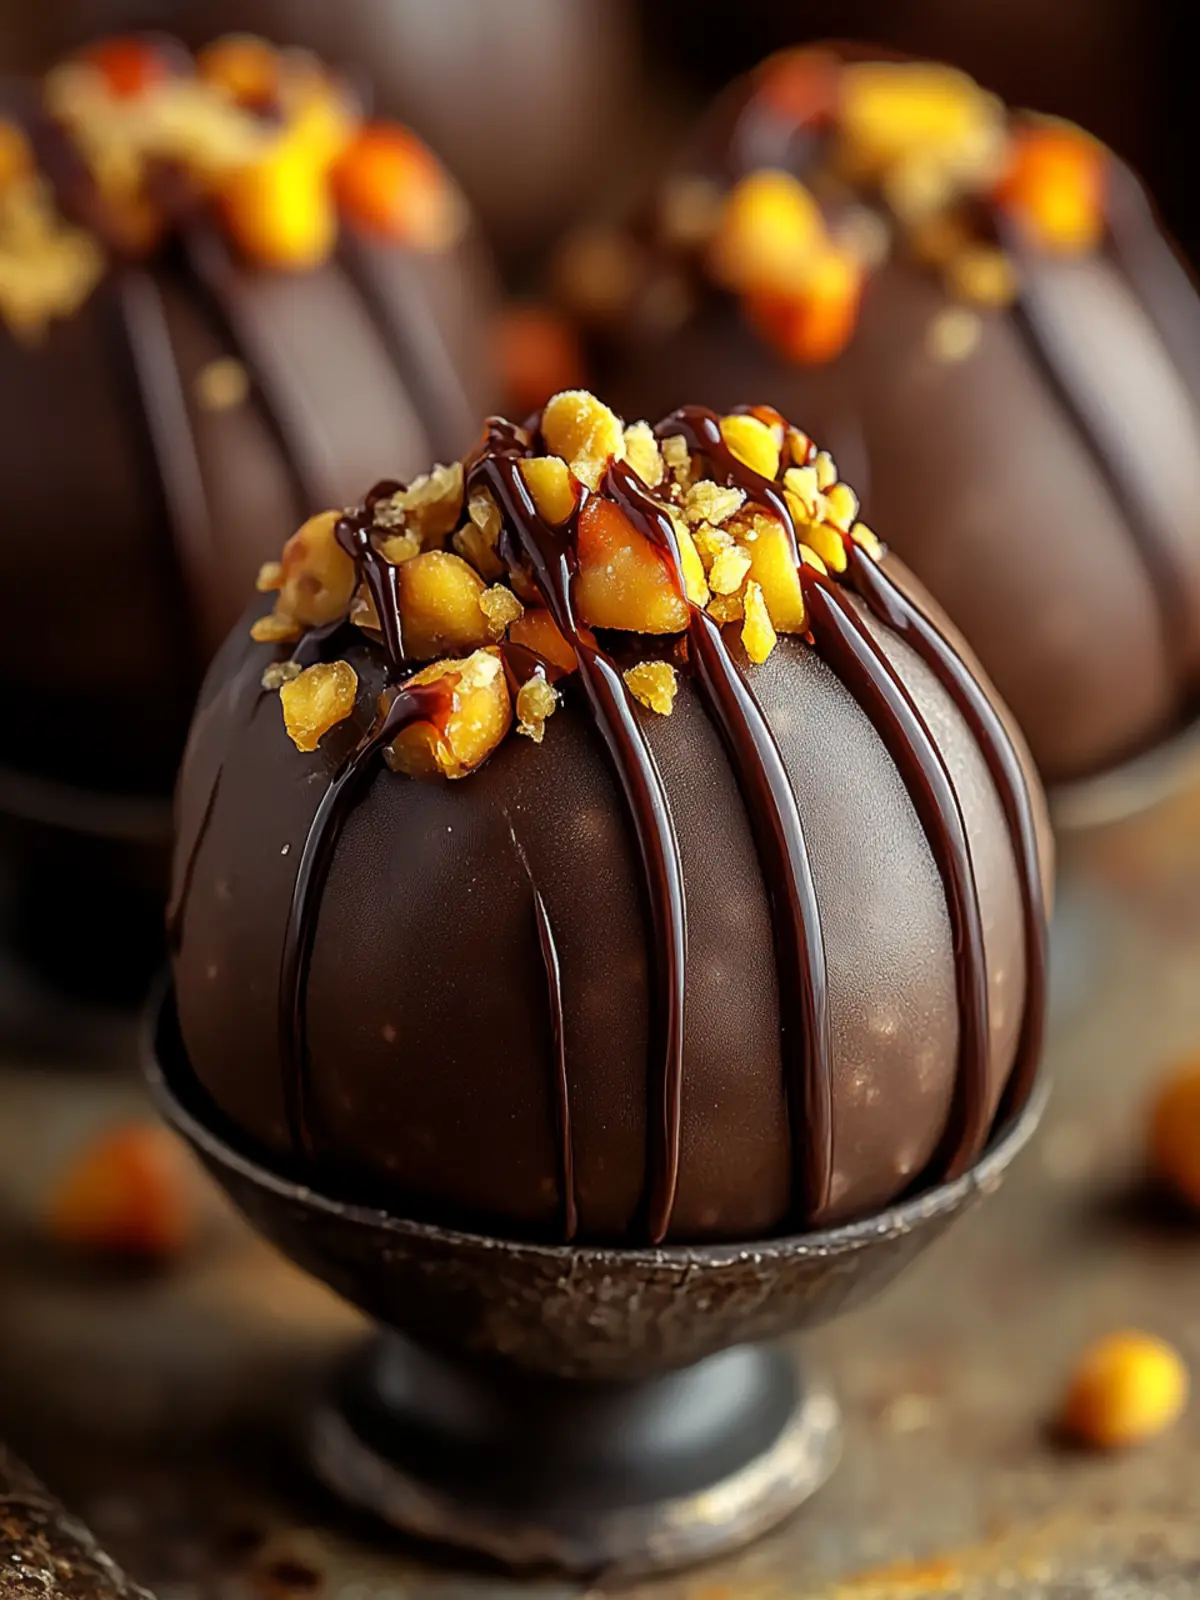
The Ultimate Reese's Experience: Why You'll Love These No-Bake Chocolate Peanut Butter Balls
Do you ever find yourself reaching for that familiar orange wrapper, craving the unparalleled harmony of creamy peanut butter and rich milk chocolate? If the answer is a resounding yes, then prepare to meet your new obsession. We're talking about homemade, melt-in-your-mouth chocolate peanut butter balls – an irresistible treat that captures all the magic of your favorite candy cup, but with the added satisfaction of making them yourself. Best of all? No oven required!
These addictive little gems are more than just a dessert; they're a celebration of one of the world's most beloved flavor combinations. They're perfect for satisfying those intense PB cravings, impressing guests at your next gathering, or simply treating yourself to a moment of pure bliss. Be warned: one is rarely enough, so consider making a double batch!
A Symphony of Flavor and Texture
What makes these chocolate peanut butter balls so utterly irresistible? It's all about the perfect ratio. Imagine a dense, impossibly smooth peanut butter filling that practically dissolves on your tongue, encased in a crisp, decadent chocolate shell. The contrast of the creamy interior against the snappy chocolate coating creates a textural masterpiece, ensuring every bite is as exciting as the last. The beauty lies in its simplicity, allowing the pure, unadulterated flavor of peanut butter to truly shine, complemented by just the right amount of sweetness and rich chocolate.
Effortless Indulgence: The No-Bake Advantage
One of the most appealing aspects of this recipe is its incredible accessibility. Forget preheating ovens, fussy baking times, or complicated techniques. These chocolate peanut butter balls come together with just 5 simple ingredients and a straightforward no-bake method that even the most novice cook can master. This makes them a fantastic option for impromptu treats, last-minute party contributions, or a fun activity to do with kids. They’re a true make-ahead dream, allowing you to create gourmet-tasting confections with minimal active prep time.
Your Shopping List: The 5 Simple Ingredients for Chocolate Peanut Butter Balls
The secret to these divine treats lies in their minimal, yet high-impact, ingredient list. Each component plays a crucial role in creating the perfect flavor and texture.
- Creamy Peanut Butter: This forms the rich, smooth heart of your candy. We highly recommend using a stabilized, processed creamy peanut butter (like Jif or Skippy) for the best results. Natural peanut butters tend to separate and can make your mixture too oily or greasy, leading to balls that don't hold their shape as well.
- Powdered Sugar (Confectioners' Sugar): Far more than just a sweetener, powdered sugar is essential for achieving that velvety smooth, moldable texture. Its fine consistency binds the peanut butter and butter together without adding graininess, ensuring your filling is perfectly dense and pliable.
- Unsalted Butter: Butter adds an incredible richness and helps create that melt-in-your-mouth texture. It also aids in binding the ingredients, making the peanut butter mixture easier to form into balls and ensuring they hold their shape beautifully once chilled.
- Chocolate Chips (or chopped chocolate bars): The star of the coating! You can use milk, semi-sweet, or dark chocolate chips depending on your preference. High-quality chocolate will elevate the taste, so choose your favorite.
- Shortening: This might seem like an odd addition, but a small amount of shortening (like Crisco) added to your melted chocolate is key for achieving a smooth, glossy, professional-looking coating that sets quickly and without blooming (those white streaks that can appear on chocolate). It makes dipping a breeze and gives your chocolate peanut butter balls that polished finish.
For a detailed breakdown of these ingredients and their optimal use, check out our guide on Easy No-Bake Chocolate Peanut Butter Balls: 5-Ingredient Recipe.
Crafting Perfection: A Step-by-Step Guide to Your Addictive Chocolate Peanut Butter Balls
Making these treats is surprisingly simple. Follow these steps for an effortless journey to peanut butter perfection:
- Mix the Dreamy Filling: In a large mixing bowl, combine the creamy peanut butter, powdered sugar, and softened unsalted butter. You can use a stand mixer with a paddle attachment, a hand mixer, or simply a sturdy spoon. Mix until all ingredients are thoroughly combined and you have a smooth, homogeneous, and moldable dough. Be careful not to overmix, as this can sometimes make the mixture a bit too oily.
- Shaping and Chilling for Success: Roll the peanut butter mixture into small, bite-sized balls – roughly 1 to 1.5 inches in diameter. A small cookie scoop can help ensure uniform sizing. Place the shaped balls on a parchment-lined baking sheet. This chilling step is absolutely crucial for maintaining their shape during the dipping process. Pop them into the refrigerator for at least 2-3 hours, or even better, the freezer for 30-60 minutes, until they are firm.
- Melting the Velvety Chocolate: In a microwave-safe bowl or a double boiler, combine your chocolate chips and shortening. Melt in 30-second intervals in the microwave, stirring well after each, until the mixture is completely smooth and glossy. If using a double boiler, stir continuously until melted. The shortening helps the chocolate melt smoothly and gives it a beautiful sheen.
- The Art of Dipping: Working with chilled peanut butter balls and slightly cooled (but still liquid) chocolate is key. Using a fork, carefully submerge one peanut butter ball into the melted chocolate. Gently lift it out, allowing any excess chocolate to drip off back into the bowl. You can lightly tap the fork against the side of the bowl to help remove drips.
- Setting the Stage for Snacking: Place the chocolate-coated balls back onto the parchment-lined baking sheet. Once all balls are dipped, return them to the refrigerator for about 15-30 minutes, or until the chocolate coating has fully set and hardened.
Chef's Notes & Expert Tips for Flawless Chocolate Peanut Butter Balls
While the recipe is straightforward, a few expert insights can elevate your chocolate peanut butter balls from good to absolutely phenomenal.
The Peanut Butter Paradox: Stabilized vs. Natural
As mentioned, choosing the right peanut butter is paramount. Natural peanut butters, which often separate oil, tend to yield a greasier, less stable filling. This can result in balls that crumble easily or "sweat" oil, especially when dipped in warm chocolate. Sticking to brands like Jif, Skippy, or Peter Pan, which contain stabilizers, will ensure your filling is consistently creamy, firm, and holds its shape beautifully.
Chilling is Crucial
Do not skip or rush the chilling step! Solidly chilled or even partially frozen peanut butter balls are much easier to handle and dip. They won't fall apart in the warm chocolate, and the cold helps the chocolate set faster, creating a firmer, more even coating. If you're working in a warm kitchen, consider chilling your working area or returning the undipped balls to the fridge between batches.
Dipping Mastery: Smooth, Even Coats
The key to a professional-looking finish is technique. Use a sturdy fork (a two-pronged meat fork works wonders) rather than a toothpick, which can leave a hole. Gently tap the fork against the side of the bowl to remove excess chocolate before placing the ball back on the parchment paper. Work quickly, but without frantic haste. If your chocolate starts to thicken, gently rewarm it for a few seconds.
Temperature Control is Key
Ensure your melted chocolate isn't too hot, as this can cause the peanut butter balls to melt or soften excessively upon dipping. It should be warm enough to be completely fluid, but not steaming. Conversely, if your chocolate is too cool, it will be too thick to dip smoothly. A sweet spot is around 90-92°F (32-33°C).
Creative Variations
Once you've mastered the basic recipe, feel free to experiment! Sprinkle a pinch of sea salt on top of the wet chocolate for a gourmet touch, or drizzle with contrasting white chocolate. You could also roll the finished balls in sprinkles, chopped nuts, or cocoa powder before the chocolate sets for an added layer of flavor and texture.
Storage Secrets & Gifting Genius: Enjoying Your Creations Longer
These delicious chocolate peanut butter balls are fantastic for making ahead, perfect for parties, or as thoughtful homemade gifts.
Refrigeration: Freshness Guaranteed
For optimal freshness and texture, store your completed peanut butter balls in an airtight container in the refrigerator. They will remain fresh and delicious for up to 1 week. Placing wax paper or parchment paper between layers can prevent them from sticking together.
Freezing: A Future Treat
These treats freeze exceptionally well! Place them in a single layer on a baking sheet to freeze solid, then transfer them to a freezer-safe bag or airtight container. They will last for up to 2 months. The best part? There's no need to thaw them before eating; they're incredibly delicious straight from the freezer, offering a delightful firm and chewy texture. This is a fantastic strategy for holiday baking or ensuring you always have a sweet treat on hand.
Gifting with Love
Homemade chocolate peanut butter balls make wonderful gifts. Arrange them in decorative mini cupcake liners, stack them in a cellophane bag tied with a ribbon, or present them in a beautiful tin. They're perfect for host gifts, teacher appreciation, or just a sweet "thinking of you" gesture.
For more in-depth strategies on preparation and storage, consult our comprehensive guide: Mastering No-Bake Chocolate Peanut Butter Balls: Prep & Storage Tips.
Conclusion: Your New Favorite No-Bake Treat Awaits!
These no-bake chocolate peanut butter balls are more than just a recipe; they're an invitation to indulge in pure, unadulterated joy. With their simple ingredients, effortless preparation, and undeniably addictive flavor, they offer all the satisfaction of a classic Reese's without ever having to turn on your oven. Whether you're making them for a special occasion, a quiet evening at home, or to share with loved ones, prepare to fall head over heels for these perfect little morsels. So go ahead, gather your ingredients, and whip up a batch (or two!) today – your taste buds will thank you.
